
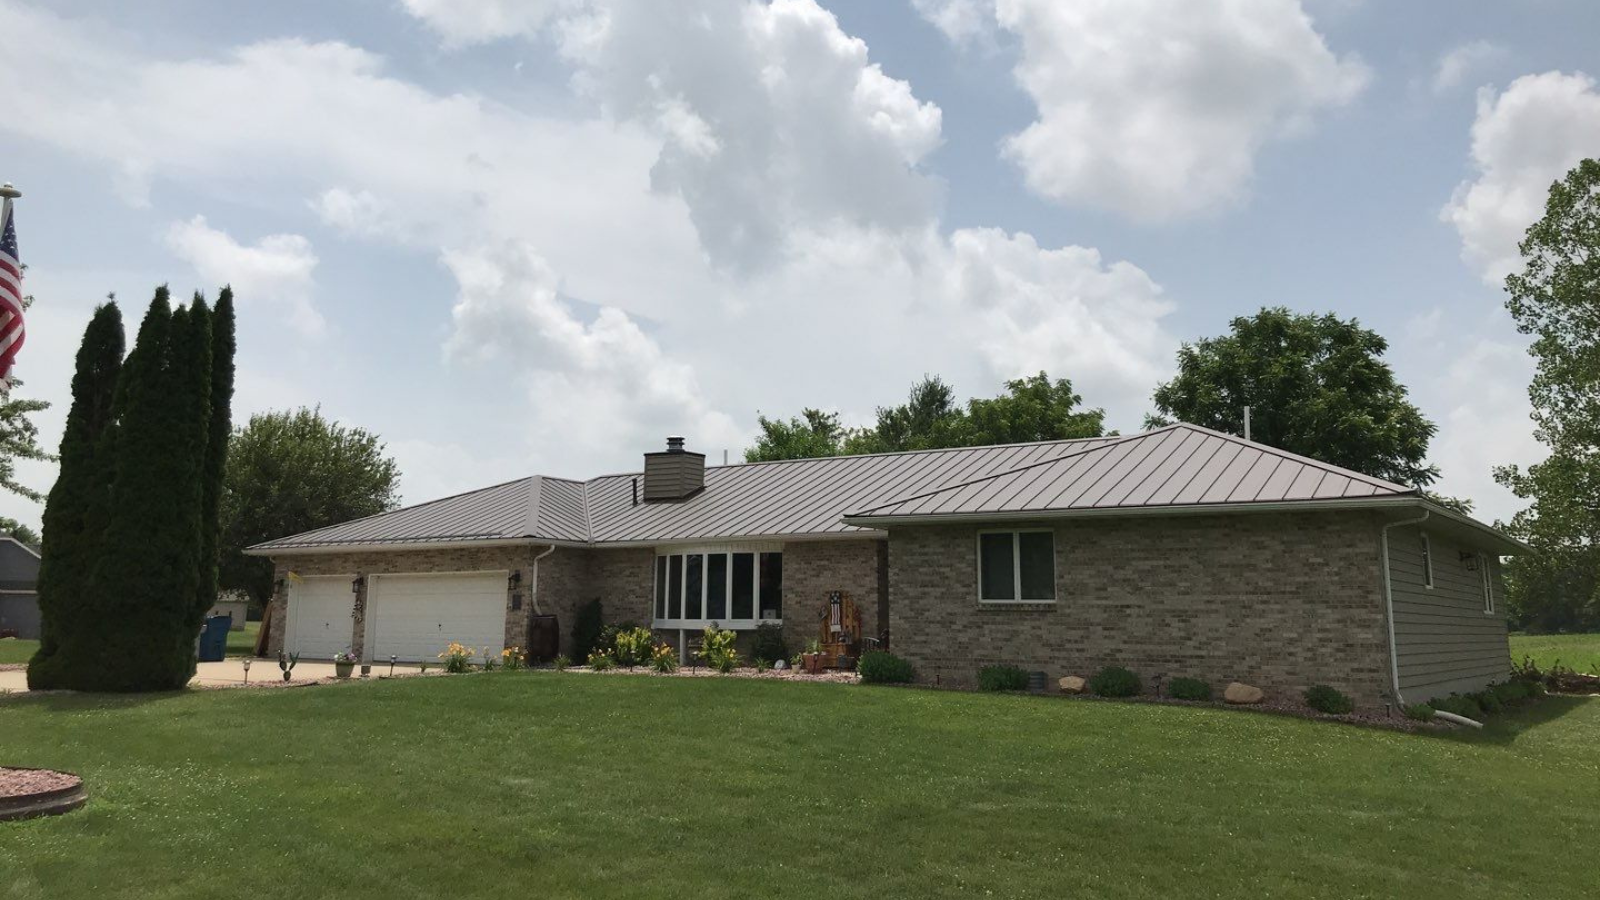
When homeowners think about roof replacement, they often focus first on the shingles, metal panels, color, or overall appearance. Those elements certainly matter, but some of the most important parts of a roofing system are not always the most visible. Flashing is one of them.
Proper roof flashing installation plays a critical role in directing water away from vulnerable areas of the roof. Without correctly installed flashing, even a brand new roof can develop leaks, moisture problems, damaged decking, mold, or premature deterioration.
For homeowners in Elkhart, Bristol, Goshen, Granger, Howe, La Porte, LaGrange, Ligonier, Michigan City, Middlebury, Mishawaka, Nappanee, Shipshewana, South Bend, Wakarusa, Fort Wayne, Edwardsburg, Kalamazoo, Niles, and Rochester, flashing is especially important because roofs must handle rain, snow, ice, wind, and seasonal temperature changes throughout the year.
At Elkhart County Roofing, we understand that a roof replacement is only as dependable as the details behind it. Quality shingles are important, but they must work together with underlayment, ventilation, flashing, fasteners, and other roofing components to create a complete system.
This guide explains why proper flashing matters, where it is installed, what can go wrong, and why professional workmanship is essential during roof replacement.
What Is Roof Flashing?
Roof flashing is a thin, durable material installed around areas where water is more likely to enter the roofing system.
It is commonly made from materials such as:
- Galvanized steel
- Aluminum
- Copper
- Lead-coated materials
- Other weather-resistant metals
The purpose of flashing is simple but extremely important. It directs water away from seams, joints, penetrations, and transitions that would otherwise be vulnerable to leaks.
During roof flashing installation, contractors carefully position the material so rainwater flows over the flashing and down the roof rather than behind shingles or into the structure.
Flashing is not an optional finishing detail. It is an essential part of the roof’s water-management system.
Why Flashing Matters During Roof Replacement
Roof replacement creates an opportunity to correct old problems and improve the entire roofing system.
If existing flashing is damaged, corroded, poorly installed, or incorrectly sealed, simply installing new shingles over or around it can leave the home vulnerable.
Proper roof flashing installation helps ensure that the new roof works as a complete system rather than just a new surface covering.
Without reliable flashing, water can enter around roof penetrations and transitions, leading to problems such as:
- Rotting roof decking
- Wet insulation
- Mold and mildew
- Ceiling stains
- Damaged drywall
- Structural deterioration
- Premature shingle failure
- Interior leaks
- Pest problems
- Higher repair costs
A roof replacement should address these vulnerable points before new materials are fully installed.
Where Roof Flashing Is Installed
Flashing is used in several areas of a residential roofing system.
Each location presents different water-management challenges.
Chimney Flashing
Chimneys create one of the most complicated intersections on a roof.
Water can collect where the chimney meets the roof surface, especially on the uphill side.
Chimney flashing typically includes multiple components such as:
- Step flashing
- Counter flashing
- Base flashing
- Cricket flashing when necessary
These pieces work together to prevent water from entering between the chimney and roofing materials.
Improper chimney flashing is a common source of roof leaks.
Professional roof flashing installation around chimneys requires careful layering so water travels over the materials rather than behind them.
Step Flashing
Step flashing is commonly installed where a roof meets a vertical wall.
It consists of individual pieces of flashing layered with each row of shingles.
Each piece overlaps the one below it, creating a stair-step pattern that directs water downward.
Step flashing is often used around:
- Dormers
- Sidewalls
- Home additions
- Upper story walls
- Chimneys
If step flashing is missing or incorrectly installed, water can enter behind siding and roofing materials.
Valley Flashing
Roof valleys are areas where two roof slopes meet.
Because water from two sections of the roof flows toward the valley, these areas handle a large amount of runoff during storms.
Valleys may use:
- Metal flashing
- Specialized membranes
- Woven shingles
- Closed-cut systems
The exact method depends on the roofing system and manufacturer requirements.
Correct roof flashing installation in valleys is essential because even a small defect can allow significant amounts of water into the roof system.
Vent Pipe Flashing
Plumbing vents and other pipes create openings through the roof.
These penetrations usually require specialized flashing boots designed to fit tightly around the pipe.
Over time, rubber components may crack or deteriorate due to sunlight and temperature changes.
During roof replacement, damaged pipe boots should be replaced rather than reused.
Skylight Flashing
Skylights create another potential entry point for moisture.
Modern skylights often include manufacturer-designed flashing kits that must be installed according to specific instructions.
Improper flashing around skylights can result in leaks that homeowners mistakenly blame on the skylight itself.
In reality, flashing or installation errors are often the cause.
Roof-to-Wall Flashing
Where a roof meets an exterior wall, flashing helps prevent water from flowing behind siding or wall materials.
These intersections are especially vulnerable during wind-driven rain.
Professional contractors evaluate both the roof and wall systems to ensure proper drainage.
Drip Edge Flashing
Drip edge is installed along the edges of the roof.
It helps guide water into gutters and away from:
- Fascia
- Roof decking
- Soffits
- Rake edges
Although drip edge may seem like a small detail, it contributes significantly to water control.
Proper roof flashing installation should include correct drip edge placement according to roofing requirements.
Kickout Flashing
Kickout flashing is installed where a roof edge meets a vertical wall.
Its purpose is to redirect water away from the siding and into the gutter.
Without kickout flashing, water can travel down the wall and enter behind siding.
Over time, this may contribute to:
- Rot
- Mold
- Damaged sheathing
- Foundation moisture
- Interior wall damage
Kickout flashing is especially important in areas that receive heavy rainfall.
How Flashing Protects Against Water Intrusion
Water naturally follows gravity, but wind can push rain in unexpected directions.
A properly designed roof uses overlapping layers to control the flow of water.
Shingles shed most rainwater, but they cannot create a completely waterproof surface around every opening or intersection.
That is where flashing becomes essential.
Correctly installed flashing creates pathways that guide water safely over vulnerable areas.
The principle is based on layering.
Higher materials overlap lower materials so water continues moving downward.
During professional roof flashing installation, contractors pay close attention to this layering sequence.
If flashing is placed incorrectly, water may travel beneath shingles or behind exterior materials instead.
Why Flashing Problems Can Be Difficult to Detect
Roof flashing damage is not always visible from the ground.
Leaks may also travel before appearing inside the home.
For example, water may enter near a chimney, move along roof decking or framing, and eventually appear as a ceiling stain several feet away.
This can make diagnosing the source difficult.
Signs of flashing problems may include:
- Ceiling water stains
- Damp attic insulation
- Mold near roof penetrations
- Peeling paint
- Discolored walls
- Soft roof decking
- Water near chimneys
- Moisture around skylights
A professional inspection can help identify the actual source rather than simply repairing the visible symptom.
Common Roof Flashing Installation Mistakes
Roofing materials perform best when installed correctly.
Several mistakes can reduce the effectiveness of flashing.
Reusing Damaged Flashing
Some homeowners assume existing flashing can always be reused during roof replacement.
In certain cases, properly installed flashing in excellent condition may remain usable. However, old flashing should be carefully inspected.
Corrosion, bends, cracks, nail holes, or previous repairs may reduce its reliability.
Replacing compromised components during roof flashing installation can help prevent future leaks.
Using Too Much Sealant
Roofing sealant has useful applications, but it should not replace proper flashing techniques.
Excessive caulk may temporarily cover a gap, but sealant eventually ages, cracks, or separates.
Properly layered flashing should direct water naturally without relying entirely on caulk.
Incorrect Overlap
Flashing pieces must overlap in the correct direction.
If the lower piece overlaps the upper piece incorrectly, water may travel beneath the flashing.
This is why understanding water flow is essential during installation.
Improper Fastener Placement
Nails and screws can create potential leak points when placed incorrectly.
Professional roofers know where fasteners should be positioned to keep them protected by overlapping roofing materials.
Missing Step Flashing
Using one continuous piece of metal where step flashing is required can create problems along sidewalls.
Individual pieces allow shingles and flashing to overlap properly as water moves down the roof.
Flashing Over Old Roofing Materials
During replacement, new flashing should be integrated into the new roofing system.
Simply placing materials over old layers may create weak points or prevent proper drainage.
Ignoring Manufacturer Requirements
Roofing manufacturers often specify how flashing should be installed with their products.
Ignoring those requirements may affect both performance and warranty coverage.
Professional roof flashing installation should follow manufacturer recommendations as well as accepted roofing practices.
How Flashing Works With Underlayment
Flashing and underlayment work together.
Underlayment provides another protective layer beneath the visible roofing material.
Depending on the roof, contractors may use:
- Synthetic underlayment
- Felt
- Ice and water barriers
- Specialized waterproof membranes
Ice and water barriers are particularly valuable around vulnerable areas such as:
- Roof valleys
- Eaves
- Chimneys
- Skylights
- Roof penetrations
However, underlayment does not replace flashing.
Both systems are necessary.
Flashing directs water at transitions and openings, while underlayment provides additional protection beneath the roof covering.
Flashing and Northern Indiana Weather
Homes throughout Elkhart County and surrounding areas experience weather conditions that make flashing especially important.
Rain
Heavy rain can expose even small gaps around flashing.
Wind-driven rain may also push water beneath improperly installed materials.
Snow
Snow can remain on the roof for extended periods.
As it melts, water may move slowly around roof penetrations and valleys.
Ice
Ice dams may push water backward beneath shingles.
Proper flashing and ice barriers help protect vulnerable areas.
Freeze and Thaw Cycles
Water that enters small gaps may freeze, expand, and gradually worsen damage.
Strong Winds
Wind can loosen flashing, shingles, or edge materials.
These conditions make dependable roof flashing installation an important part of any roof replacement in northern Indiana and southern Michigan.
Flashing and Roof Lifespan
A roofing system may include high-quality shingles rated to last many years, but poor flashing can cause problems much sooner.
If water repeatedly enters around a chimney or sidewall, it may damage roof decking even while the shingles remain in good condition.
This can shorten the useful life of the roof and increase repair expenses.
Proper flashing helps protect the supporting structure underneath the roofing material.
That protection contributes to the overall longevity of the system.
Flashing and Roof Warranties
Roofing warranties often depend on proper installation.
Manufacturer warranties typically cover defects in roofing materials, but they may not cover damage caused by poor workmanship.
A workmanship warranty from the contractor may provide additional protection.
Homeowners should ask:
- Is new flashing included?
- Will existing flashing be inspected?
- What flashing materials will be used?
- What warranty covers installation?
- Are manufacturer instructions being followed?
Clear answers help homeowners understand exactly what is included in the project.
Why Professional Roof Replacement Matters
Roof replacement involves more than removing old shingles and installing new ones.
A professional contractor evaluates the entire roofing system, including:
- Roof decking
- Underlayment
- Flashing
- Ventilation
- Drip edge
- Valleys
- Gutters
- Roof penetrations
- Chimneys
- Fasteners
This comprehensive approach helps prevent weak points.
Professional roof flashing installation requires experience because every roof is different.
Roof slope, materials, wall intersections, chimney design, and drainage patterns can all affect the correct approach.
Flashing Inspection During Roof Replacement
Before installing the new roof, the contractor should inspect existing flashing.
This inspection may reveal:
- Rust
- Corrosion
- Loose metal
- Missing components
- Improper previous repairs
- Nail holes
- Cracked sealant
- Bent flashing
- Water stains
Damaged components can then be replaced before the project continues.
This is far easier than discovering a flashing problem after new roofing materials have been installed.
Signs You May Need Flashing Repair
Homeowners should contact a roofing professional if they notice signs such as:
- Leaks around chimneys
- Moisture around skylights
- Water near plumbing vents
- Ceiling stains after storms
- Loose metal around roof edges
- Rusted flashing
- Visible gaps near walls
- Repeated caulk repairs
- Damaged siding near roof intersections
Early repairs may prevent larger problems.
Why DIY Flashing Repairs Can Be Risky
DIY flashing repairs may appear simple, but roof work involves several risks.
First, working on a roof can be dangerous without proper safety equipment.
Second, water-management details can be difficult to understand without experience.
Applying sealant over a leak may hide the problem temporarily without correcting the underlying cause.
Incorrect repairs may also make future professional work more complicated.
For these reasons, roof flashing installation and major flashing repairs are generally best handled by trained roofing professionals.
How Professional Flashing Helps Protect Roof Decking
Roof decking provides the structural surface beneath shingles or other roofing materials.
When flashing fails, water may reach the decking.
Repeated moisture exposure can cause:
- Swelling
- Rot
- Soft areas
- Mold
- Delamination
- Reduced fastener holding strength
Damaged decking may need replacement during a roofing project.
Proper flashing reduces the likelihood of this damage by keeping water away from vulnerable joints.
Flashing and Attic Moisture
Not every attic moisture issue comes from flashing, but flashing leaks can contribute.
Water entering through roof penetrations may soak insulation and create humid attic conditions.
Wet insulation loses effectiveness and may encourage mold growth.
During an inspection, roofing contractors may check the attic for clues that help locate exterior leaks.
This can include:
- Dark stains
- Wet insulation
- Rusted nails
- Mold
- Damp rafters
- Water trails
Combining attic inspection with exterior evaluation can help identify the source of moisture.
Flashing and Energy Efficiency
A roof leak does more than create water damage.
Wet insulation may become less effective, which can influence heating and cooling performance.
Moisture can also damage air-sealing materials or contribute to indoor humidity concerns.
Although flashing is not primarily an energy-efficiency feature, correct roof flashing installation can help protect insulation and other building components that support home comfort.
What Homeowners Should Ask Their Roofing Contractor
Before signing a roof replacement agreement, ask how flashing will be handled.
Useful questions include:
- Will old flashing be removed or reused?
- How will chimney flashing be installed?
- Are pipe boots included?
- Will step flashing be replaced where needed?
- Is kickout flashing included?
- What material will be used?
- Will ice and water barrier be installed around vulnerable areas?
- Does the installation follow manufacturer requirements?
- What warranty covers the work?
A professional contractor should be able to explain these details clearly.
The Relationship Between Flashing, Siding, and Gutters
Roofing systems do not work independently.
Flashing often connects directly with siding and gutters.
For example, kickout flashing directs water into the gutter instead of allowing it to flow down the siding.
Step flashing works behind or alongside wall coverings.
Drip edge helps guide water into gutters.
When one component is installed incorrectly, nearby materials may be affected.
A complete exterior inspection helps identify how these systems interact.
Maintaining Roof Flashing After Replacement
Even professionally installed flashing should be inspected periodically.
Homeowners can help protect their roof by:
- Scheduling periodic roof inspections
- Checking after major storms
- Keeping gutters clean
- Removing roof debris
- Watching for ceiling stains
- Inspecting the attic periodically
- Trimming overhanging branches
Avoid walking on the roof whenever possible.
A professional contractor can safely inspect flashing and other roofing components.
Why Local Roofing Experience Matters
Roofing conditions vary by region.
Contractors working in northern Indiana understand the challenges created by:
- Snow
- Ice
- Rain
- High winds
- Temperature swings
- Seasonal storms
Local experience also helps contractors recognize common roofing styles, flashing details, and problems found in homes throughout the area.
For homeowners seeking dependable roof flashing installation, choosing a contractor familiar with regional conditions can make a meaningful difference.
Why Choose Elkhart County Roofing
At Elkhart County Roofing, we know that the quality of a roof depends on more than the visible materials.
Details such as flashing, underlayment, ventilation, valleys, roof edges, and penetrations all play important roles in protecting your home.
We proudly serve homeowners in Elkhart, Bristol, Goshen, Granger, Howe, La Porte, LaGrange, Ligonier, Michigan City, Middlebury, Mishawaka, Nappanee, Shipshewana, South Bend, Wakarusa, Fort Wayne, Edwardsburg, Kalamazoo, Niles, and Rochester.
Our team focuses on:
- Detailed roof inspections
- Quality materials
- Professional installation
- Clear communication
- Careful water-management details
- Dependable workmanship
- Homeowner-focused service
Whether you are replacing an aging roof, repairing storm damage, or investigating a leak, our team can help evaluate the condition of the complete roofing system.
Final Thoughts
Flashing may not be the most noticeable part of your roof, but it is one of the most important.
It protects areas where shingles alone cannot provide enough water resistance, including chimneys, walls, valleys, vents, skylights, and roof edges.
Proper roof flashing installation helps prevent leaks, protect roof decking, preserve insulation, reduce moisture problems, and extend the performance of the entire roofing system.
During roof replacement, homeowners should make sure flashing receives the same attention as shingles and other visible materials. Reusing damaged flashing, relying too heavily on sealant, or installing components incorrectly can create problems that may not become obvious until months or years later.
Professional roof flashing installation gives homeowners greater confidence that water will be directed away from vulnerable areas instead of into the home.
If you are planning a roof replacement or concerned about flashing damage, contact Elkhart County Roofing. Our team can inspect your roof, evaluate vulnerable areas, and recommend a dependable solution designed to protect your home through northern Indiana’s changing weather.
